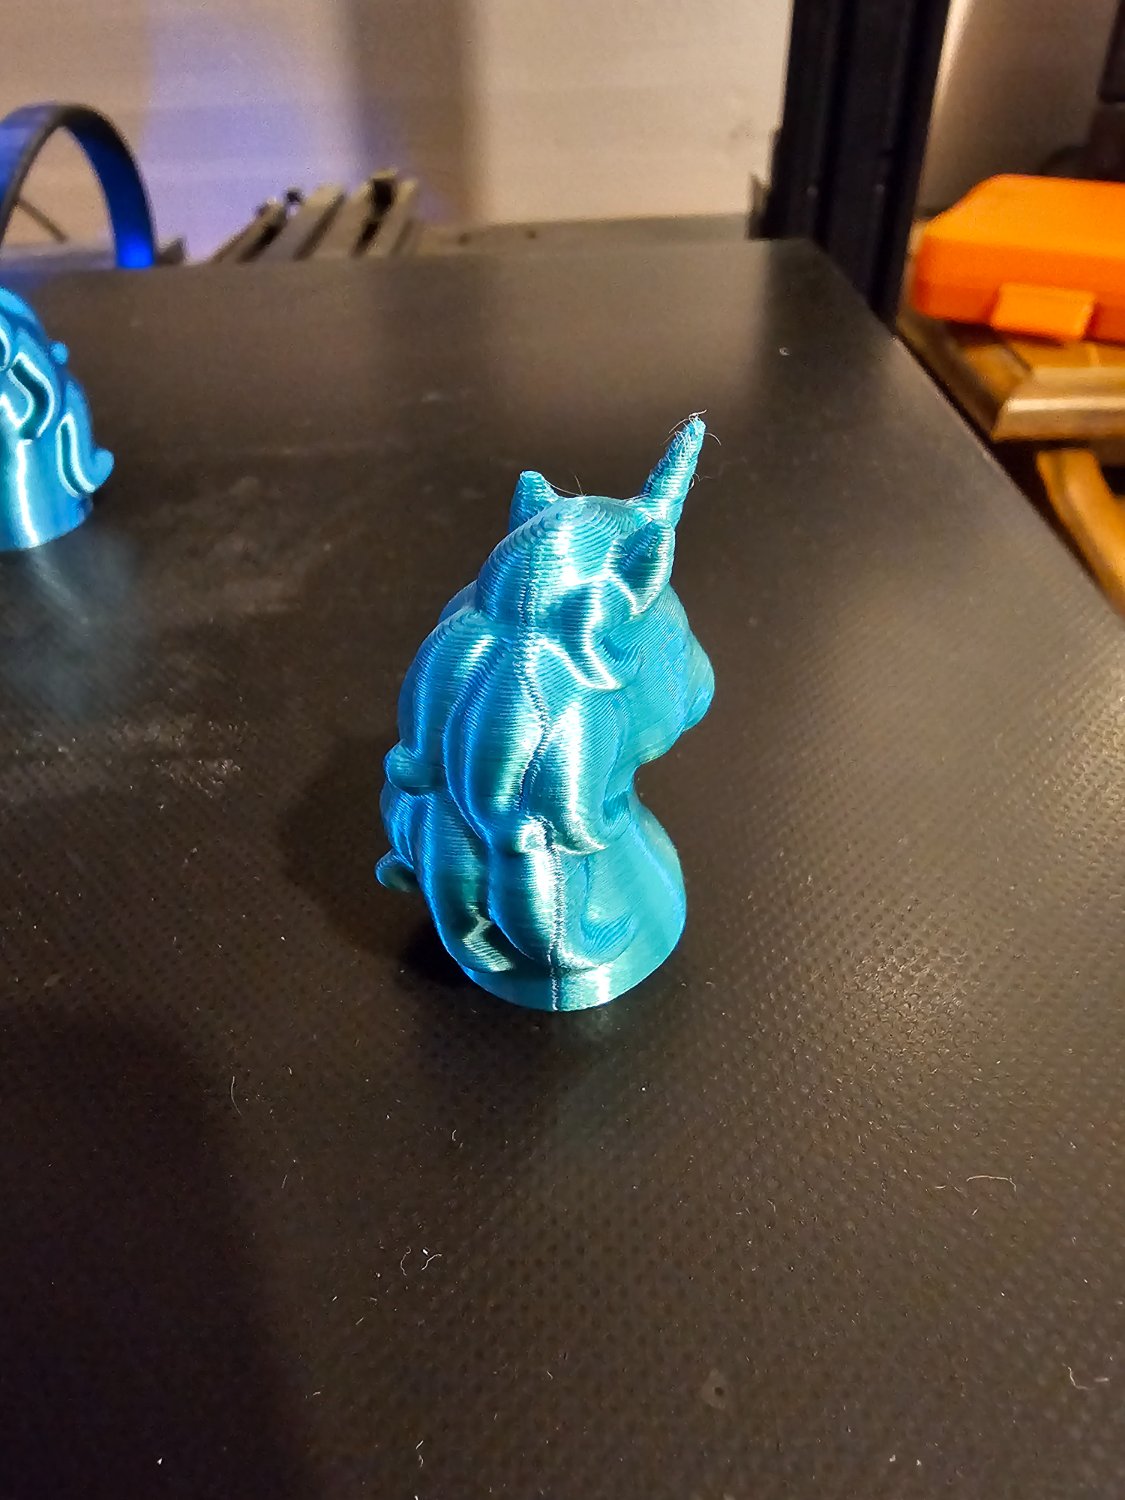
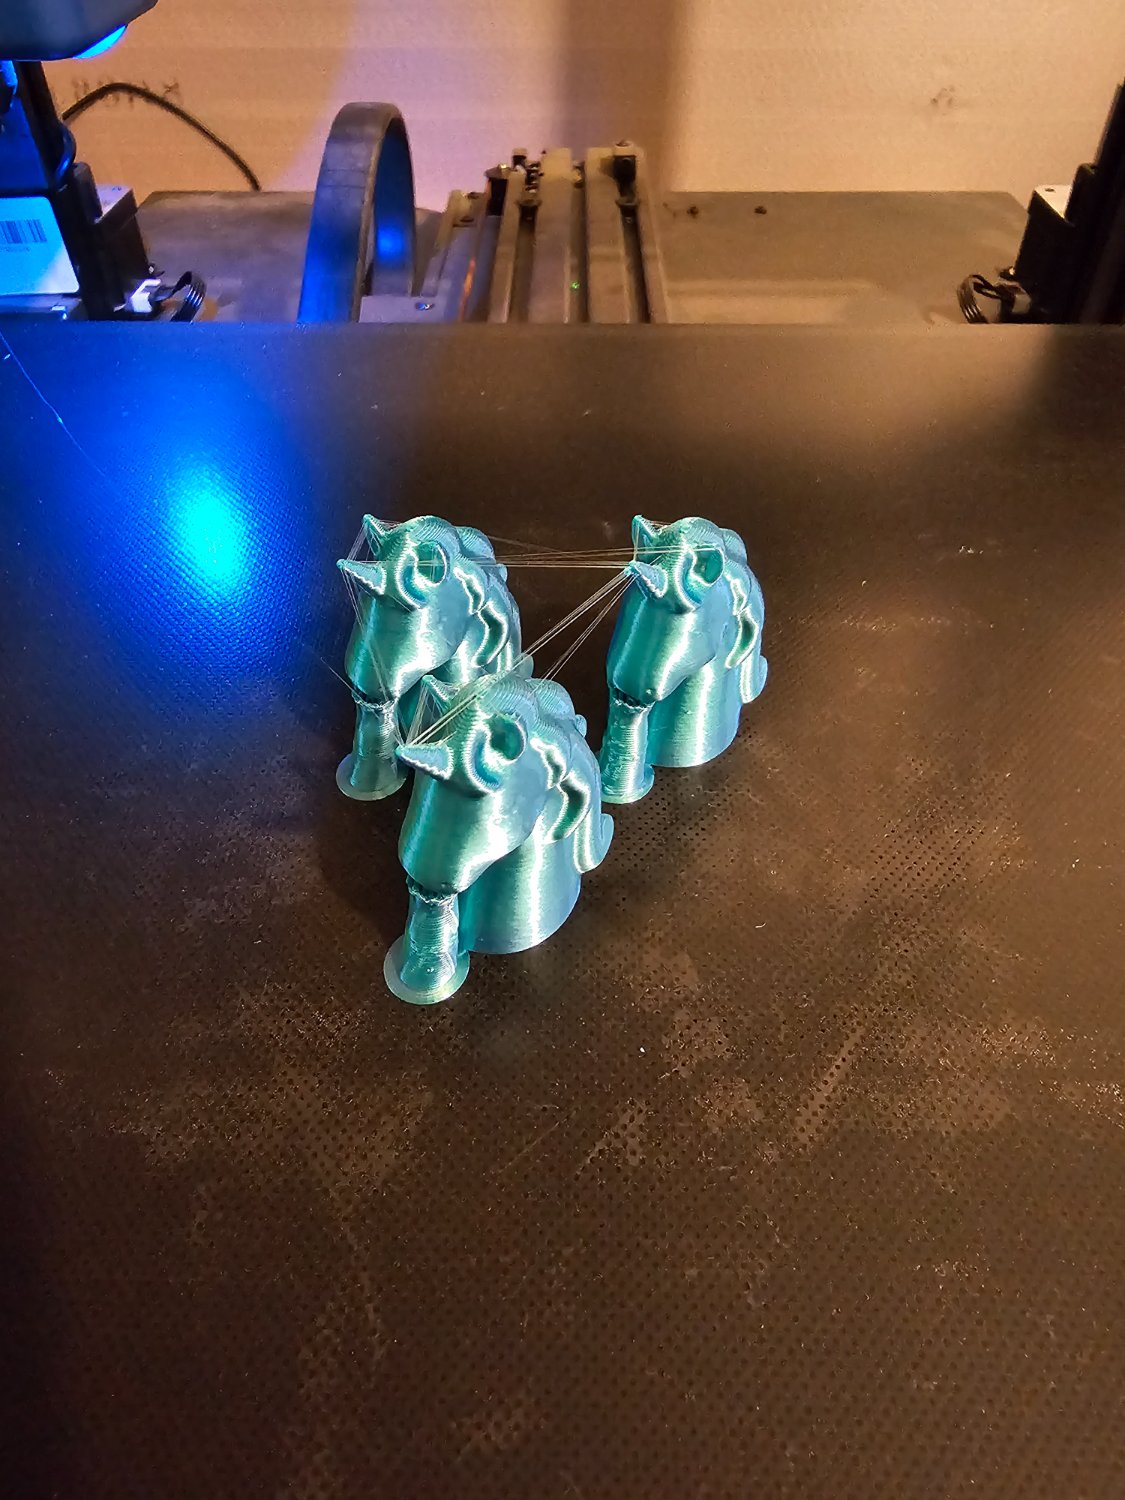
Did that this morning. Except for I didn't hit save and restart after setting new offset in klipper. But I just got a small scratch. I got lucky it wasn't too bad. Lol
scotticus42
Unless the cloud server encounters an error again.
That is a very clever location.
I suppose that could be one approach, but i believe most people use sandpaper or a hobby knife (x-acto knife). Commonly followed by other post-processing (e.g. priming, painting)
It's mainly a visual thing on my pieces, one can hardly feel it when your run your finger over it. I would like to get it a bit smoother, but haven't been able to get it smoother with slicer settings yet.
Here is an image of my seam line:

And here shows a bit of stringing between the small layers:

Well, hello fellow X2 owner. I've had mine for almost 2 years. Still tweaking settings, but I just swapped it over to klipper about 3 months ago. Still not going too fast with outer perimeters running 40mm/s. Inner perimeters at 80-90mm/s. Travel at 200mm/s, supports at 150mm/s. Still have a slight stringing issue with pla with small detail layers. But I'll get you a picture later today of how my seams show up.
But yes, you can assign the position of your seams in most slicers. Basic settings are random, aligned, and back. (Most of the time these are in relation to print bed front/back, not object, so rotating the object can effectively 'move' the seam)
Also, most slicers have an option to paint on the seam.
Sounds to me like your issue is that the new nozzle now sits lower in relation to the old one. And so now your Z 0 puts the new nozzle tip below where your bed sits.
Since your not using a probe then all you'll need to do is move your end stop so it triggers at a higher position, and stops your nozzle from ramming the bed.
Move the endstop up higher and then let us know if that helps.
Looks like a nice, quick print for petg on my sidewinder. Don't currently have anything I need to hang. But added this to a collection so I can definitely find it later.
Love the idea of printing it split like this. Accomplishes both the spread for anchoring, and decreases layer weakness in the structure.
Thinking of either of these facts makes it seem like a better idea than any other anchor I've seen for printing so far. (Used to work in a hardware store, so I know of a few ways to anchor into drywall) Of course I've yet to see a print for a toggle anchor (usually have a spring and folds open once you put it through a hole in the wall). Nor have I really looked into finding anchor files. Just came across a few over my 3 years printing experience.
Personally, I have converted my two printers from marlin to klipper. I've used MainsailOS installed on a raspberry pi.
Had to get a second pi to run the second one on due to my crownest install not being able to set a camera to each printer (for the mobileraker app output that is). In the web interface I could set my cameras to each printer respectfully, even though the output of both came from one install location (one klipper instance supplied both cameras)
But the pi3b+ can handle that if you need it to, but there is a bit of extra configuration needed to set file paths right. (I would recommend a fan on the pi so it doesn't constantly say your at risk of overheat, mine was constantly around 60C, but added a fan and get solid 40C)
But for my Ender 3v2, the conversion was super easy. Loading through an SD card is so simple. But my Sidewinder X2, was more of a challenge (due to having to open the case up and use a jumper to put the board into DFU mode).
But the choice was a no-brainer for my sidewinder, since I had to compile my own firmware to open up some options that weren't on by default. And it is a pain to recompile marlin every time you forget to adjust one firmware option.
Klipper is so much easier on changing a firmware setting. Alter a text file, restart the service, and it's changed.
Recently played through Prey... it's a mimic!
Sorry, the design on it can be deceiving. Lol
 Smoked NY strip steak, with corn on the cob and tornado potatoes.
Hey man, your first layer isn't getting enough squish by the looks of it. It likes a decent amount of push into the bed compared to some other materials. PETG doesn't like as mush mash down as PLA. So if your printing PLA, try increasing your squish. You can do this via your z offset.
But do you really need your bed at 70? Mine runs and sticks just great at 60. 70 seems a bit warm for pla, as it keeps it just a bit too close to the glass transition temp for my liking. But if 70 has worked for you, then stay there.
But as another suggested, maybe raise your first layer temp by 5 or 10 and see if that helps. It might be that it needs a bit higher temp to flow better.